
Installing the ReflexBlue Import/Export Service
This guide helps you step by step with installing the ReflexBlue Import/Export Service. After following these instructions, the service will be correctly installed and you can make optimal use of the synchronization features.
Before proceeding with the installation, check that your PC meets the system requirements for installing the ReflexBlue Import/Export Service.
Installing the ReflexBlue Import/Export Service
Follow these steps to install the ReflexBlue Import/Export Service:
-
Download the installation file for the ReflexBlue Import/Export Service via the management website of your ReflexBlue Application Server. Follow the instructions at Downloading applications from the ReflexBlue Application Server.
-
Choose a Windows user account on the PC where the Import/Export Service will run. You have two options:
-
Use an existing Windows user account, for example your own account if it’s a personal PC or laptop.
Important for accounts without a password:
Windows requires that user accounts used by services have a password. If your account doesn’t have a password yet, set a password first.You can then set up your PC to log in automatically without a password. For this, follow Microsoft’s instructions at Turn on automatic logon in Windows.
-
Or create a new Windows user account on the PC.
Important notes:
- Do not use a “Local Service” or “Network Service” account.
- Keep the password for the account in a safe place. You’ll need it if ReflexSystems support is required.
- Make sure the password does not expire.
-
-
Log in to Windows with the user account you selected or created in the previous step.
-
Go to the location where you saved the installation file and run the installer.
-
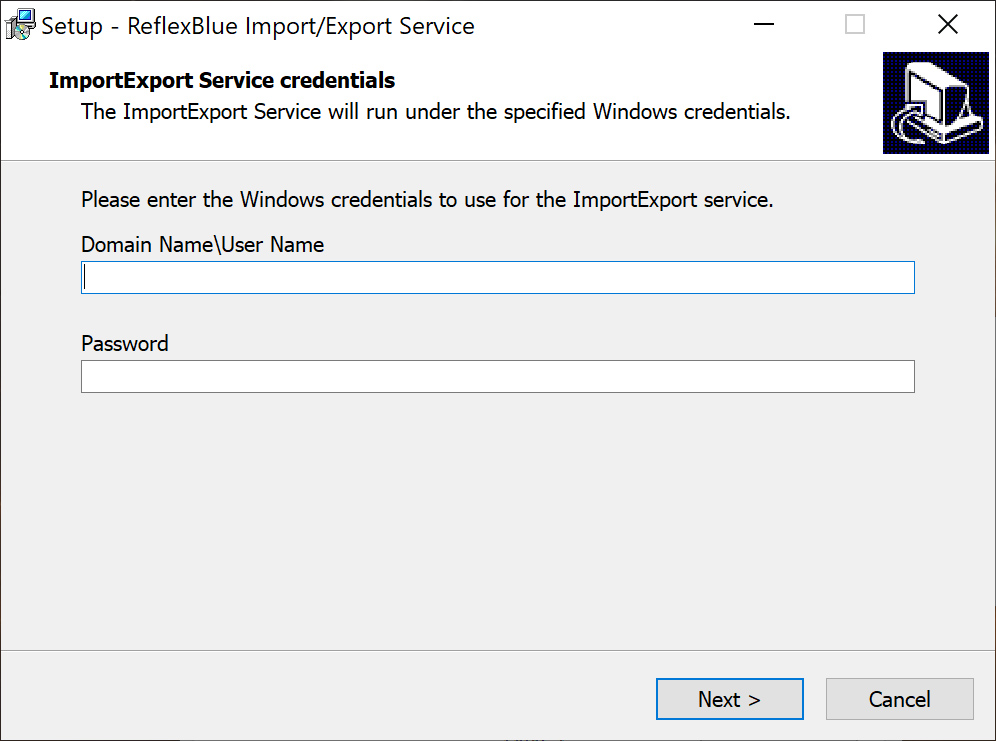
During installation, you’ll be asked to enter the Windows user account and password. Enter these and then select Next > to complete the installation.
-
After installation, the user interface of the ReflexBlue Import/Export Service is accessible via http://localhost:5001/. Open your web browser and go to this address to access the user interface.
You can only open this user interface from a browser running on the same PC where the ReflexBlue Import/Export Service is installed.
-
You can now create and configure synchronizations in the Import/Export Service. For this, follow the instructions for managing synchronizations.
Changing the password after installation
If you change the Windows user password after installation, you need to adjust the service settings to keep the ReflexBlue Import/Export Service working. Follow these steps:
-
Open the Services Manager program (standard in Windows).
Type
services.mscin the Run dialog, Start menu search box, Command Prompt, or PowerShell and press Enter to open Services Manager. -
Find ReflexBlue Import/Export Service Runner in the list.
-
Right-click this service and choose Properties.
-
In the Properties window, go to the Log On tab.
-
Enter the new user account and password.
-
Select OK and restart the service.